Hosted Scanner
Hosted Scanner is being replaced by Cloud Deployment. Cloud Deployment provides a streamlined experience for scanning from StackHawk’s infrastructure. See the Quick Start to get started.
Hosted Scanner lets AppSec teams run scans directly from StackHawk’s infrastructure—no local setup or CI/CD integration required. It’s ideal for legacy systems, inherited applications, and compliance-driven environments.
Hosted Scanner supplements CI/CD workflows—it’s not a replacement. Use it when pipeline integration isn’t possible.

Recommended Use Cases
Use Hosted Scanner in situations where pipeline-based scanning is not feasible:
- Legacy applications without pipelines.
- Acquired or inherited systems that require validation.
- Compliance-driven production scans.
- Early onboarding when teams want to scan before CI/CD integration is complete.
Prerequisites
- A StackHawk account with Hosted Scanner enabled.
- The URL of the application you want to scan.
- Access to add DNS records (or another supported verification method).
Scanner Source IP Addresses
Hosted Scanner scans originate from the following IP addresses. If your application is behind a firewall, add these to your allowlist:
44.253.178.18644.245.102.2444.253.194.62
How It Works
Hosted Scanner runs on StackHawk’s managed infrastructure, allowing you to point the scanner at a target application without requiring local setup or pipeline integration.
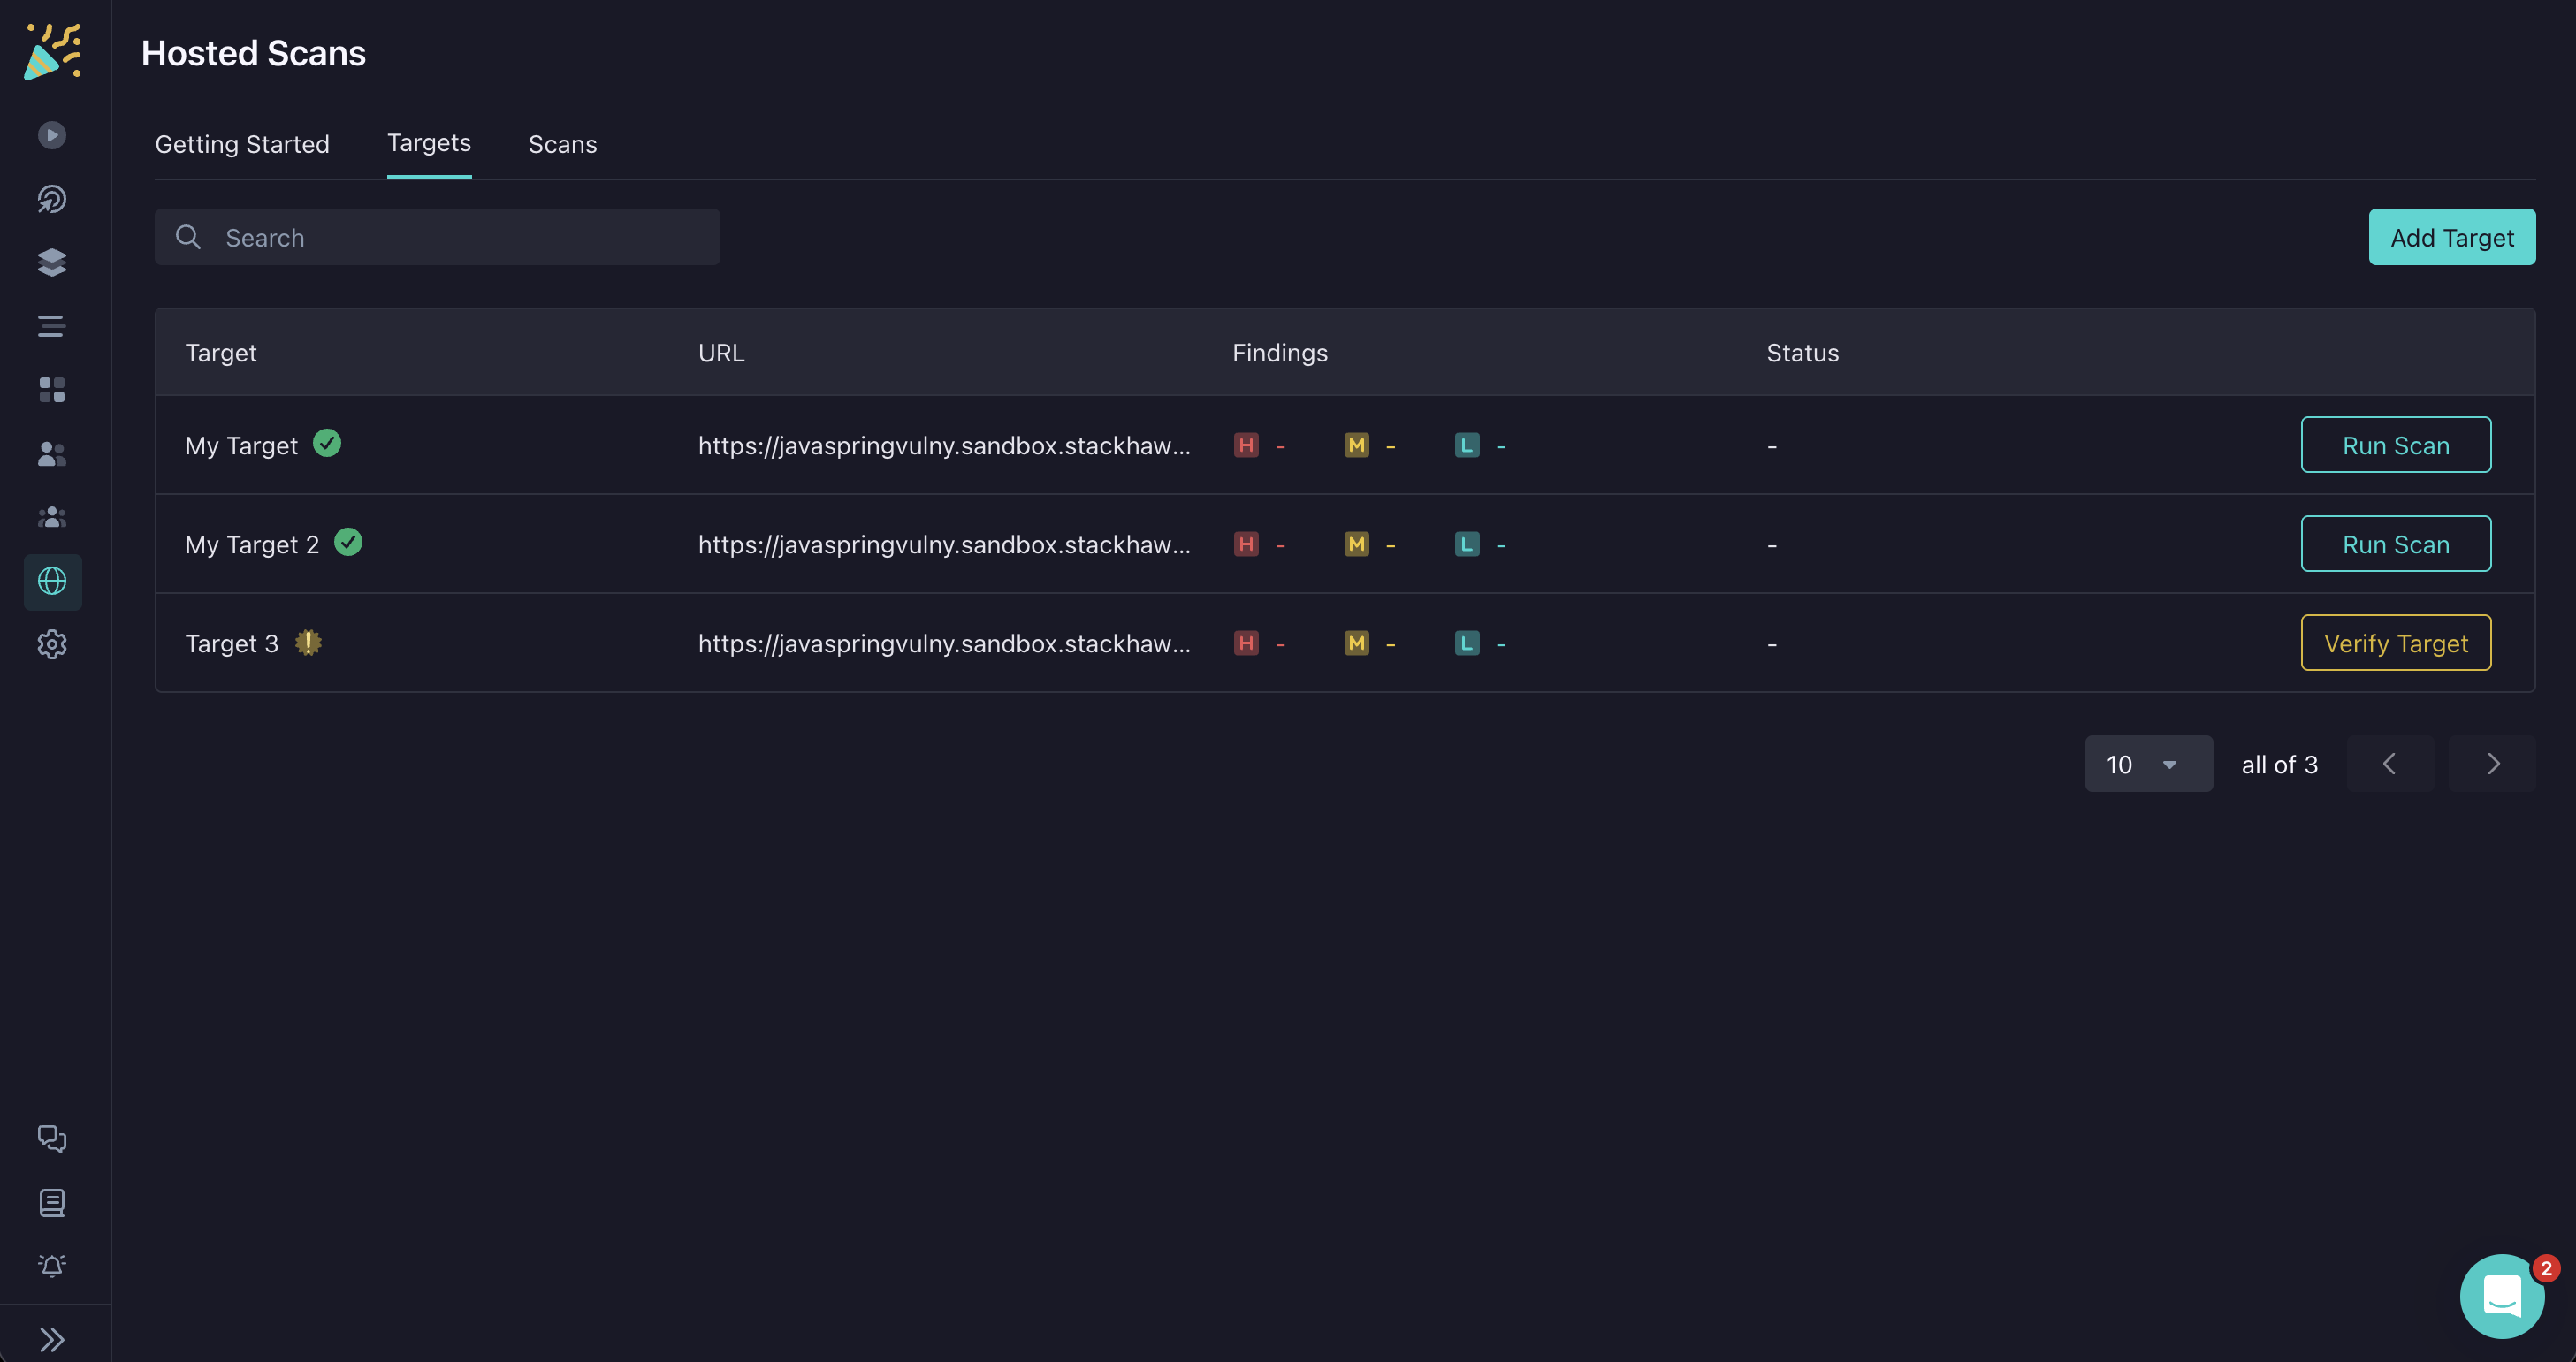
The process begins by creating a target in the StackHawk platform. A target represents the application you want to scan and includes the base URL along with verification details to confirm ownership, typically through DNS records.
Once the target is created and verified, the platform automatically generates a YAML configuration for it and hosts that configuration within StackHawk. This YAML contains the defaults needed to run a scan and can be edited directly in the Hosted Config Editor. Users can fine-tune scan settings just as they would with a locally managed YAML file, but without needing to handle setup or file management on their own systems.
When a scan is launched, StackHawk provisions and runs the scanner from its managed infrastructure. The scanner crawls and tests the target application according to the hosted configuration, and the results are streamed back into the StackHawk platform. Findings appear in the same results viewer used for pipeline-driven scans, ensuring a consistent experience across different workflows.
Key Features
- Familiar UI: A streamlined version of the core StackHawk interface for fast adoption.
- Hosted Config Editor: Modify YAML-based configurations directly in the platform without local setup.
- Step-by-Step Guidance: Clear instructions for URL submission, DNS verification, and scan execution.
- Getting Started Page: Provides context, links to documentation, and an immediate way to launch scans.
Verification Process
To prove ownership of your domain, create a TXT record in your DNS settings. The specific values will be shown in StackHawk when you add your Hosted Scanner Target.
| Field | Value |
|---|---|
| Name (Host) | sh-UNIQUE-DOMAIN-KEY.example.com |
| Value | *.example.com or subdomain.example.com |
| TTL | 3600 (or your DNS provider’s default) |
Once you’ve added the DNS record, click Verify in the platform to complete verification.
You can add multiple TXT records with the same key if you need to verify multiple specific domains rather than using a wildcard.