SSO/SAML Integration
This feature is available on the StackHawk Enterprise plan.
SSO support through SAML integration
The StackHawk platform includes a Service Provider-Initiated sign in flow that provides your users with Single Sign On (SSO) access to the StackHawk platform.
In some cases, IDP-initiated flows may be available as well (e.g., through the Okta integration). Please reach out to StackHawk support for assistance setting up SSO/SAML for your organization.
For setup with your auth provider, support will request three values:
- The SSO identifier - this is your users auth domain as part of the login email, eg.
stackhawk.com - The IDP Entity ID - This is the unique identifier for SAML login within the service provider.
- The SAML IDP Metadata XML - This is a XML file with the information necessary for StackHawk to interact with SAML-enabled identity service providers.
User Conversion
StackHawk uses email addresses to uniquely identify users. Many times, early users of your StackHawk organization created their accounts with their work emails through one of our other identify providers (email/password, Google auth, GitHub auth).
If you used your work email to make your account before you integrated SAML SSO with StackHawk, your account will be converted to your company’s SAML IDP the first time you login to StackHawk via SAML SSO.
Please note, this identity provider conversion is one-way and irreversible. Please reach out to support if you encounter any issues.
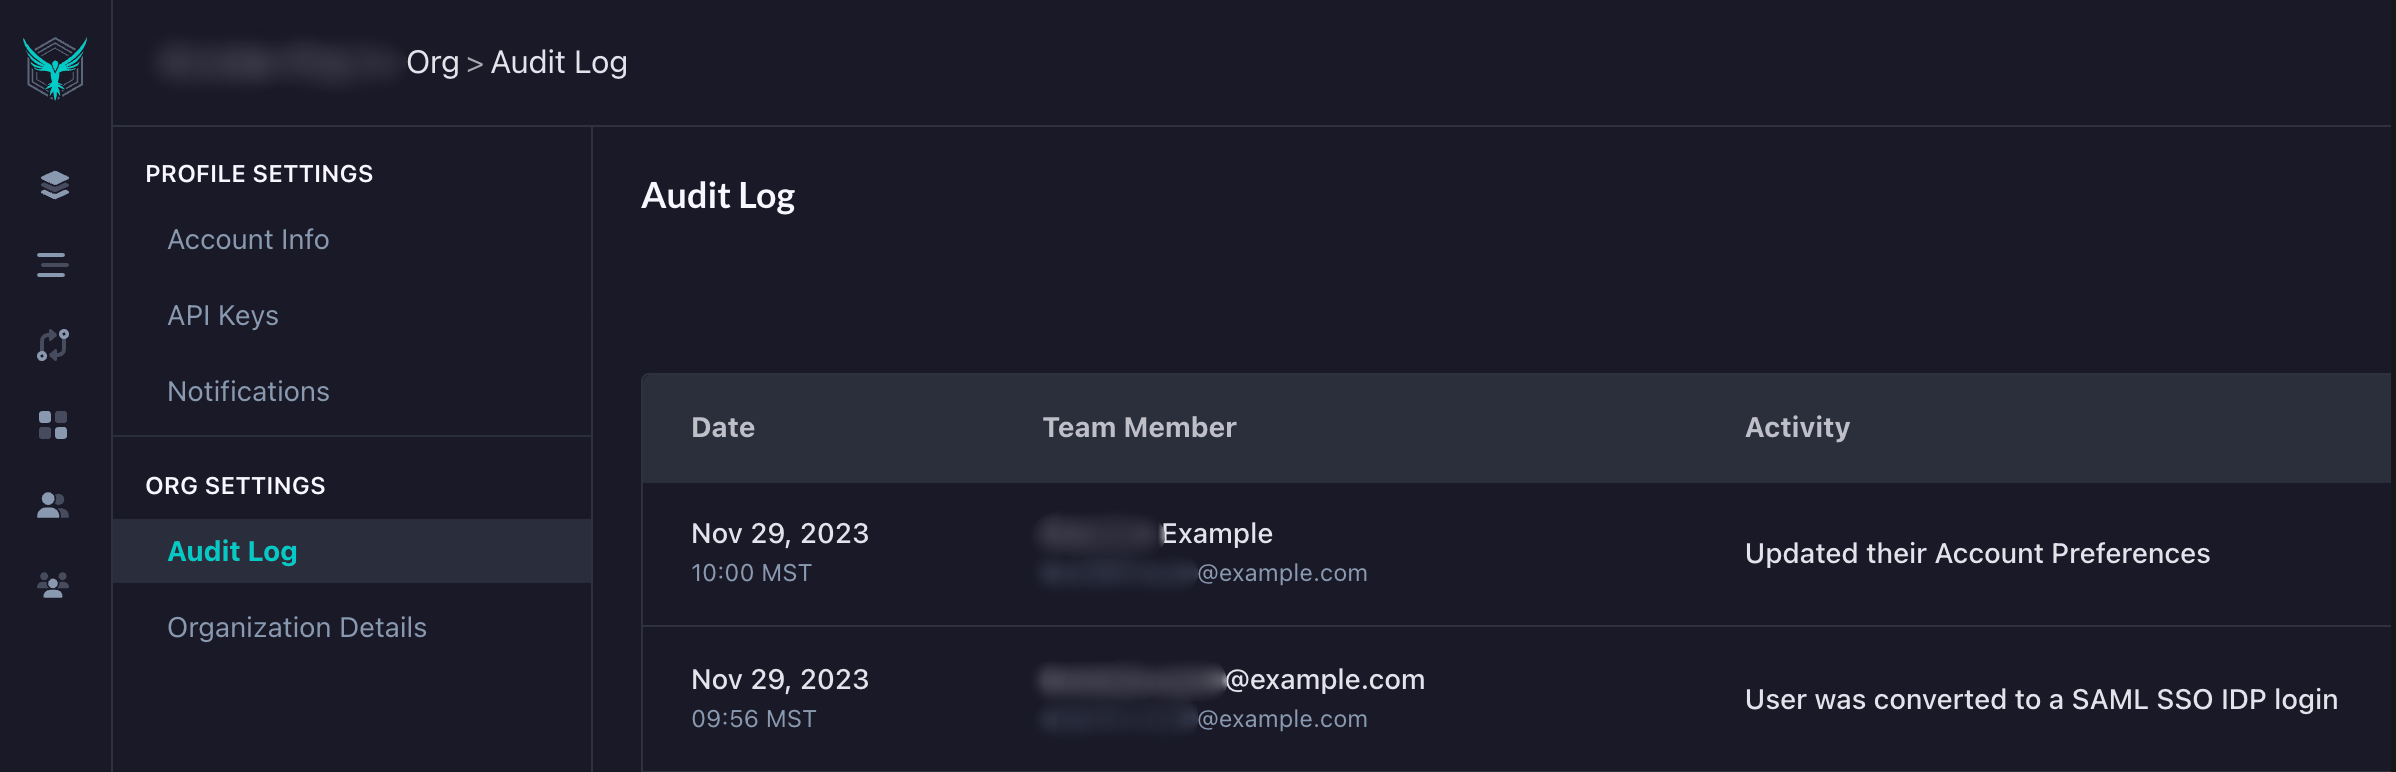
You will also be able to see a record of the successful identity provider conversion in your organization’s audit logs.
Preparing the Identity Provider (IDP) environment
Step 1: Provision StackHawk as a Service Provider (SP)
To start the SAML integration process, configure StackHawk as an SP in your IDP.
To do so, you’ll need the following StackHawk Entity information:
- StackHawk’s Audience URI (aka, SP Entity ID):
com:stackhawk:kaakaww:sp - StackHawk’s SAML endpoint URL (aka, Assertion Consumer Service, aka ACS URL):
https://auth.stackhawk.com/saml/SSO
You’ll also need the following attributes:
- Primary identifier: the primary identifier must be email address in order to integrate with StackHawk
- email identifier varies by provider (
user.mail,EmailAddress, etc)
- email identifier varies by provider (
- First Name and Last Name identifiers – these are attribute mappings that need to be added in order to map your IDP’s first and last name source attributes to StackHawk’s
firstNameandlastNameidentifiers
Note: See the appropriate IDP-specific sections below for specific provisioning guidance.
Step 2: Download the XML Metadata
Once provisioned, download the associated SAML Metadata XML document for provisioning by StackHawk Support.
Provisioning the StackHawk Platform
Once the XML Metadata has been generated, contact StackHawk Support for additional assistance.
Support will work with you to provision the StackHawk platform with:
- the XML Metadata for the account(s) in question
- an SSO Identifier for users to enter to initiate the login from the StackHawk platform at https://auth.stackhawk.com/sso
- typically, this will be your organization’s email domain (e.g.,
companyname.com); however, you can work with support to customize this, provided it’s a unique identifier
- typically, this will be your organization’s email domain (e.g.,
Once SAML integration is in place:
- IDP users may need to be granted access to the SP in the IDP before they can log in
- new SAML users may log directly into https://auth.stackhawk.com/sso – they will be auto-provisioned on the the StackHawk platform for the provisioned account
- you should no longer utilize the Invite Members feature in the Settings page (this function is not integrated with SAML)
Note:
- Case matters when entering an email address or SSO Identifier –
CompanyNameandcompanynameare not equivalent
Provisioning Guidance For Specific IDP’s
Okta
StackHawk has a pre-built integration with Okta. To enable it:
- Add the StackHawk integration directly via the Okta site
- From the resulting application in Okta, download the Identity Provider metadata from the Sign-On settings page
Duo
First/Last Name attribute mappings (StackHawk:Duo):
firstName=firstNamelastName=lastName
Google’s SAML terminology in the Service provider details setup page:
- The SP’s SSO URL is referred to as ACS URL; either way, for StackHawk, that’s
https://auth.stackhawk.com/saml/SSO - Entity ID refers to the SP Entity ID, which for StackHawk is
com:stackhawk:kaakaww:sp - Start URL is not needed
- Google Directory attributes mapping (Google:StackHawk):
First name(Google Directory Attributes) =firstName(App attributes)Last name(Google Directory Attributes) =lastName(App attributes)
Azure Active Directory (AAD)
Microsoft Entra is the new name for Azure Active Directory.
The Microsoft Entra equivalent to a SSO Service Provider is an Enterprise Application.
For the associated Enterprise Application in the Entra Admin Center: https://entra.microsoft.com/
- Create a new Active Directory Enterprise Application if it does not already exist, and select it’s properties.
- Select Single sign-on (under Manage)
- Select SAML
- Under Basic SAML Configuration:
- add
com:stackhawk:kaakaww:spas the Identifier (Entity ID) – this is StackHawk’s Audience URI - set
https://auth.stackhawk.com/saml/SSOas the Reply URL (Assertion Consumer Service URL) - Leave Sign on URL blank
- add
- Note the Azure AD Identifier (which may start with https://sts.windows.net); this is the IDP entity ID.
- Note the defaulted values in Attributes & Claims
- there will likely already be givenname and surname entries – we’ll need to add new first name / last name entries regardless
- note the Unique User Identifier (required claim)
- Edit the Required Claim (Unique User Identifier (Name ID)) under Attributes & Claims:
- change the Source attribute to
user.mailif it’s any other value (likely default:user.userprincipalname, or possiblysamAccountId)
- change the Source attribute to
- Add two Additional claims:
- Claim 1: Name:
firstName; Source Attribute:user.givenname - Claim 2: Name:
lastName; Source Attribute:user.surname - Leave pre-existing surname / givenname attribute mappings in place (e.g., those associated with
schemas.XMLsoap.org) – you may need these elsewhere but StackHawk needs the two above
- Claim 1: Name:
- Select users and groups
- Add the appropriate users and groups for access to the Enterprise Application
- Navigate back to Single sign-on and download the Federation Metadata XML (under SAML Signing Certificate)
Share with support your Azure domain, the Azure AD Identifier as the IDP Entity ID collected in Step 5, and the Federation Metadata XML as the SAML IDP metadata XML collected in step 10.
To set up Google for SAML-based SSO login (as opposed to the Login with Google flow):
- Add a custom SAML application in
admin.google.com - Set the following in the Service Provider Details section:
- ACS URL =
https://auth.stackhawk.com/saml/SSO - Entity ID =
com:stackhawk:kaakaww:sp - Name ID =
Basic Information --> Primary email - Name ID format =
Unspecified
- ACS URL =
- In Attribute Mapping, create these attribute pairs:
- Basic Information =
First Name; App attributes =firstName - Basic Information =
Last Name; App attributes =lastName
- Basic Information =
- Once the application has been created, go to Apps–>Web and Mobile Apps–>Select the StackHawk SAML application–>Download Metadata
OneLogin
OneLogin’s SAML terminology in the Applications configuration:
- The SSO URL is referred to as ACS (Consumer) URL; for StackHawk, that’s
https://auth.stackhawk.com/saml/SSO - Enter
https://auth.stackhawk.com/saml/SSOin the Recipient field as well - Enter
com:stackhawk:kaakaww:spin the Audience (Entity ID) field - Enter
https://auth.stackhawk.com/ssoin the Login URL field - Enter
Service Providerin the SAML initiator field - Enter
Emailin the SAML nameID format field - Enter
Specificin the SAML Issuer Type field