Bitbucket Pipelines

Adding StackHawk to Bitbucket Pipelines is simple. In this guide we will describe how to do it with concrete examples you can try yourself. We will describe three scenarios:
- Scan a publicly available endpoint such as example.com
- Scan a service running on localhost
- Scan an application stack running locally in Docker Compose
Create a Bitbucket Repository
If you don’t have one already, create a new Bitbucket account. Then create a new repository to contain the configurations for the examples below.
Secure Your API Key
Your API key should be kept secret. Rather than saving it in your repository, store it as a secret environment variable in Bitbucket Pipelines.
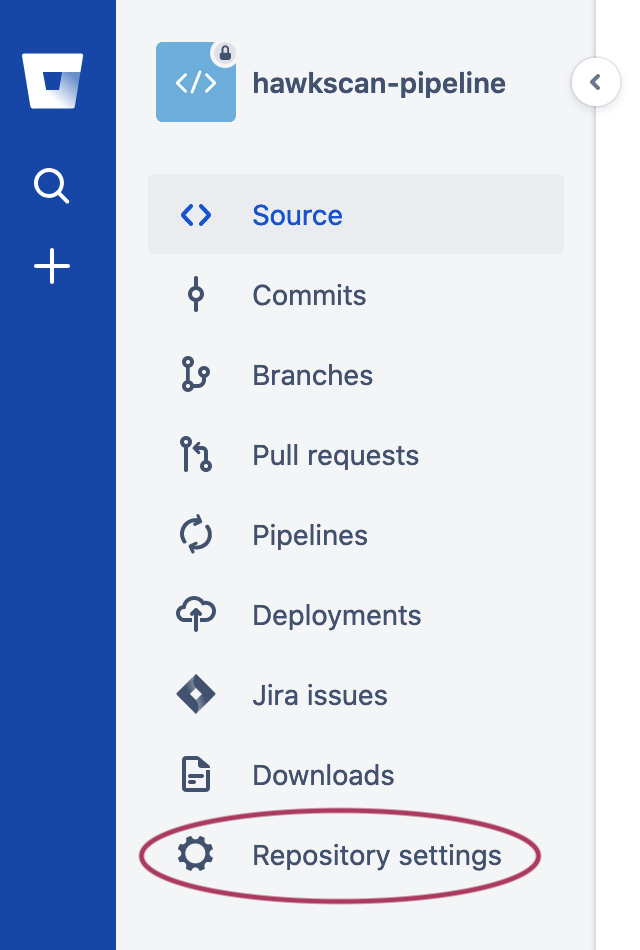
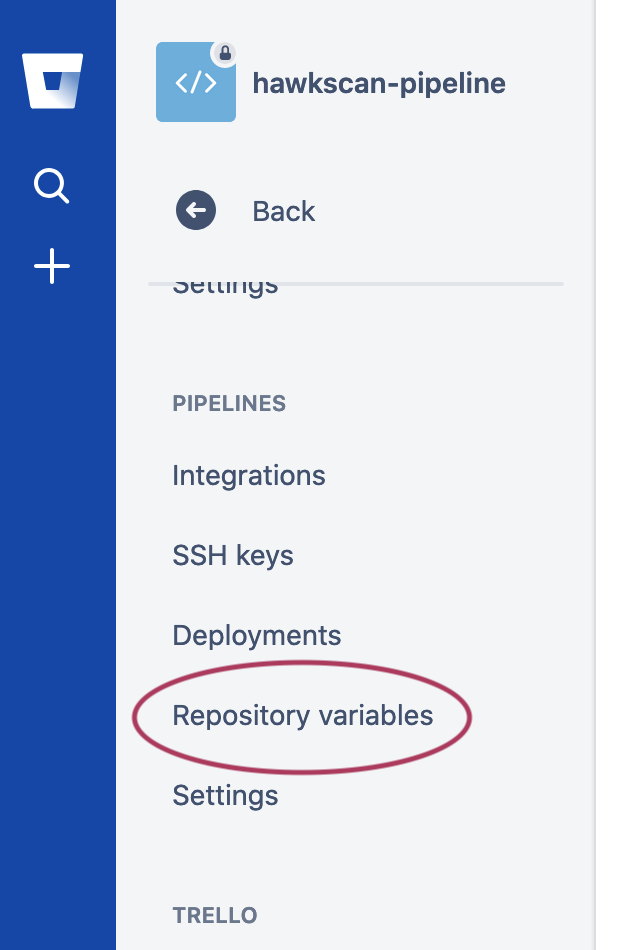
Log on to Bitbucket and navigate to your repository. From the left-hand pane , select (⚙️) Repository settings, and then below PIPELINES, select Repository variables.
Add an environment variable called HAWK_API_KEY, and enter your API key from the HawkScan app. If you need to look up your API key or create a new one, navigate to your API Keys in the StackHawk platform.
Now you’re ready to define your scan and pipeline configurations.
Scenario One: External Site Scanning
In this scenario you will scan an existing external site. Typically, this would be your own integration test site running your latest pre-production code. For this simple example we will use example.com as our external site.
At the base of your repository, create a bitbucket-pipelines.yml file with the following contents.
image: atlassian/default-image:2
pipelines:
  default:
    - step:
        name: Scan Example.COM
        services: [docker]
        script:
          - >
            docker run -v $(pwd):/hawk:rw -t
            -e API_KEY=$HAWK_API_KEY
            stackhawk/hawkscan
This is a single step pipeline that enables Docker, and then runs HawkScan as a Docker container. The Docker command to run HawkScan is a little long, so we break it up into multiple lines using the YAML special character > to fold the following lines into one long line, removing any newline characters.
Notice that we pass the API key to HawkScan using the -e API_KEY=$HAWK_API_KEY flag in the docker run command.
Next, add a HawkScan configuration file to the root of your repository like so.
app:
  applicationId: xxXXXXXX-xXXX-xxXX-XXxX-xXXxxXXXXxXX
  host: http://example.com
  env: Bitbucket Pipelines
Set app.applicationId to the StackHawk application ID for your application. You can find it in StackHawk Applications.
Commit your code and push it to Bitbucket to initiate a pipeline run. You can watch your scan progress in Bitbucket, and check the StackHawk Scans console to see your results.
Scenario Two: Localhost Scanning
In this scenario we will start a service locally and scan it on the localhost address. You can use this approach to scan your own application within the Bitbucket Pipelines build environment.
For this scenario, you will fire up Nginx in a Docker container, and scan it at the localhost address. Any application running on the localhost address can be scanned. It doesn’t need to be in a Docker container!
At the base of your repository, create a bitbucket-pipelines.yml file with the following contents.
image: atlassian/default-image:2
pipelines:
  default:
    - step:
        name: Scan localhost
        services: [docker]
        script:
          - docker run --detach --publish 8080:80 nginx
          - while ! curl -s -o /dev/null localhost:8080; do echo Waiting for app; sleep 1; done
          - >
            docker run -v $(pwd):/hawk:rw -t
            -e API_KEY=$HAWK_API_KEY
            --add-host host.docker.internal:$BITBUCKET_DOCKER_HOST_INTERNAL
            stackhawk/hawkscan
The script in this pipeline has three steps:
- start an Nginx container, listening on localhost port 8080
- wait for Nginx to become responsive at http://localhost:8080
- run HawkScan.
Notice the flag to the HawkScan Docker command line that reads, “--add-host host.docker.internal:$BITBUCKET_DOCKER_HOST_INTERNAL.” This allows HawkScan to reach services on the localhost address, such as the Nginx container started in step 1 of the script. See this Bitbucket security bulletin for more information on why this flag is necessary.
Add a HawkScan configuration to the root of your repository:
app:
  applicationId: xxXXXXXX-xXXX-xxXX-XXxX-xXXxxXXXXxXX
  host: http://localhost:8080
  env: Bitbucket Pipelines
Set app.applicationId to the StackHawk application ID for your application. You can find it from the StackHawk Applications screen.
Commit your code and push it to Bitbucket to initiate a pipeline run. You can watch your scan progress in Bitbucket, and check the StackHawk Scans console to see your results.
Scenario Three: Docker Compose Scanning
Docker Compose is a great way to build up a multi-tier application or set of microservices to create a repeatable integration test environment. You can then add HawkScan as an overlay Docker Compose configuration.
For this scenario, we will start up an Nginx container using Docker Compose, and then scan it by overlaying another Docker Compose configuration for the HawkScan container.
Create the following pipeline configuration file in the base of your repository.
image: atlassian/default-image:2
pipelines:
  default:
    - step:
        name: Scan docker-compose
        services: [docker]
        script:
          - docker-compose -f docker-compose-base.yml up --detach
          - while ! curl -s -o /dev/null localhost; do echo Waiting for app; sleep 1; done
          - docker-compose -f docker-compose-base.yml -f docker-compose-hawkscan.yml up --abort-on-container-exit
There are three steps in the script defined above:
- Bring up the
docker-compose-base.ymlDocker Compose configuration, which contains the service,nginx-test. - Wait for the
nginx-testcontainer to become reachable - Add the
docker-compose-hawkscan.ymlDocker Compose configuration, which contains the service,hawkscan.
Notice the flag in the third script step, --abort-on-container-exit. This flag tells Docker Compose to bring down the whole environment when HawkScan finishes and the hawkscan container exits.
Add the docker-compose-base.yml Docker Compose configuration file to your repo.
version: "3.7"

services:
  nginx-test:
    image: nginx
    ports:
      - 80:80
    logging:
      driver: none
The nginx-test service runs the nginx docker container and listens on localhost port 80. We only listen on localhost so that we can test it with a simple script to make sure it is up and listening before we attempt to scan it. The scan will use the private bridge network set up by Docker Compose to allow container services to communicate with each other by name.
We also set the logging driver for nginx-test to none. Since HawkScan will be probing many URLs on nginx-test, logging would generate excessive output in your pipeline results.
Next, create a Docker Compose configuration for HawkScan in a file named docker-compose-hawkscan.yml.
version: "3.7"

services:
  hawkscan:
    image: stackhawk/hawkscan
    environment:
      API_KEY: "${HAWK_API_KEY}"
    volumes:
      - .:/hawk
    tty: true
    depends_on:
      - nginx-test
This file creates the service hawkscan which runs the container stackhawk/hawkscan. It passes along the HAWK_API_KEY environment variable from your secured Repository Variables. And it mounts the current working directory . to /hawk within the container so that HawkScan can find your HawkScan configuration files.
Add your HawkScan configuration file, stackhawk.yml, to the base of your repo.
app:
  applicationId: xxXXXXXX-xXXX-xxXX-XXxX-xXXxxXXXXxXX
  host: http://nginx-test
  env: Bitbucket Pipelines
Set app.applicationId to the StackHawk application ID for your application. You can find it from the Applications screen. Notice that the target host is http://nginx-test, since that service will be reachable by name within the Docker Compose private bridge network.
Commit your code and push it to Bitbucket to initiate a pipeline run. You can watch your scan progress in Bitbucket, and check the StackHawk Scans console to see your results.
For a more in-depth example of scanning a realistic integration test environment using Docker Compose, see our tutorial, Test-Driven Security With StackHawk Travis CI and Docker Compose. In this tutorial we build, seed, and scan a Django application with an Nginx proxy front-end and PostgreSQL database backend, all in Docker Compose.