Teams
This feature is available on the StackHawk Enterprise plan.
Teams in StackHawk help you organize users, applications, and their scans. By creating a Team, you’re grouping the people who own specific applications and are responsible for testing them. This structure ensures clear ownership, making it easier to manage testing, review results, and take action on any findings.
Teams also define which users can access specific applications and their test results. Members of a Team can only view and manage the applications and scans assigned to that Team, while unassigned applications remain accessible to all users. This setup keeps access focused, prevents unauthorized modifications, and allows Teams to concentrate on the applications they are responsible for.
Key Concepts
| Concept | Detail |
|---|---|
| Visibility | Owners and Admins see all Teams, Applications, Environments, and Scans |
| Management | Only Admins and Owners can create or modify Teams |
| Unassigned Apps | Applications not in a Team are visible to all users |
| One Team per App | Each application belongs to one Team at a time. To move an app, remove it from its current Team first |
To maintain clarity and control over application testing, take time to organize your Applications by creating Teams and assigning Members. Members can only access the Applications and Scans within their assigned Teams or any Applications that have not yet been assigned to a Team.
Creating a Team
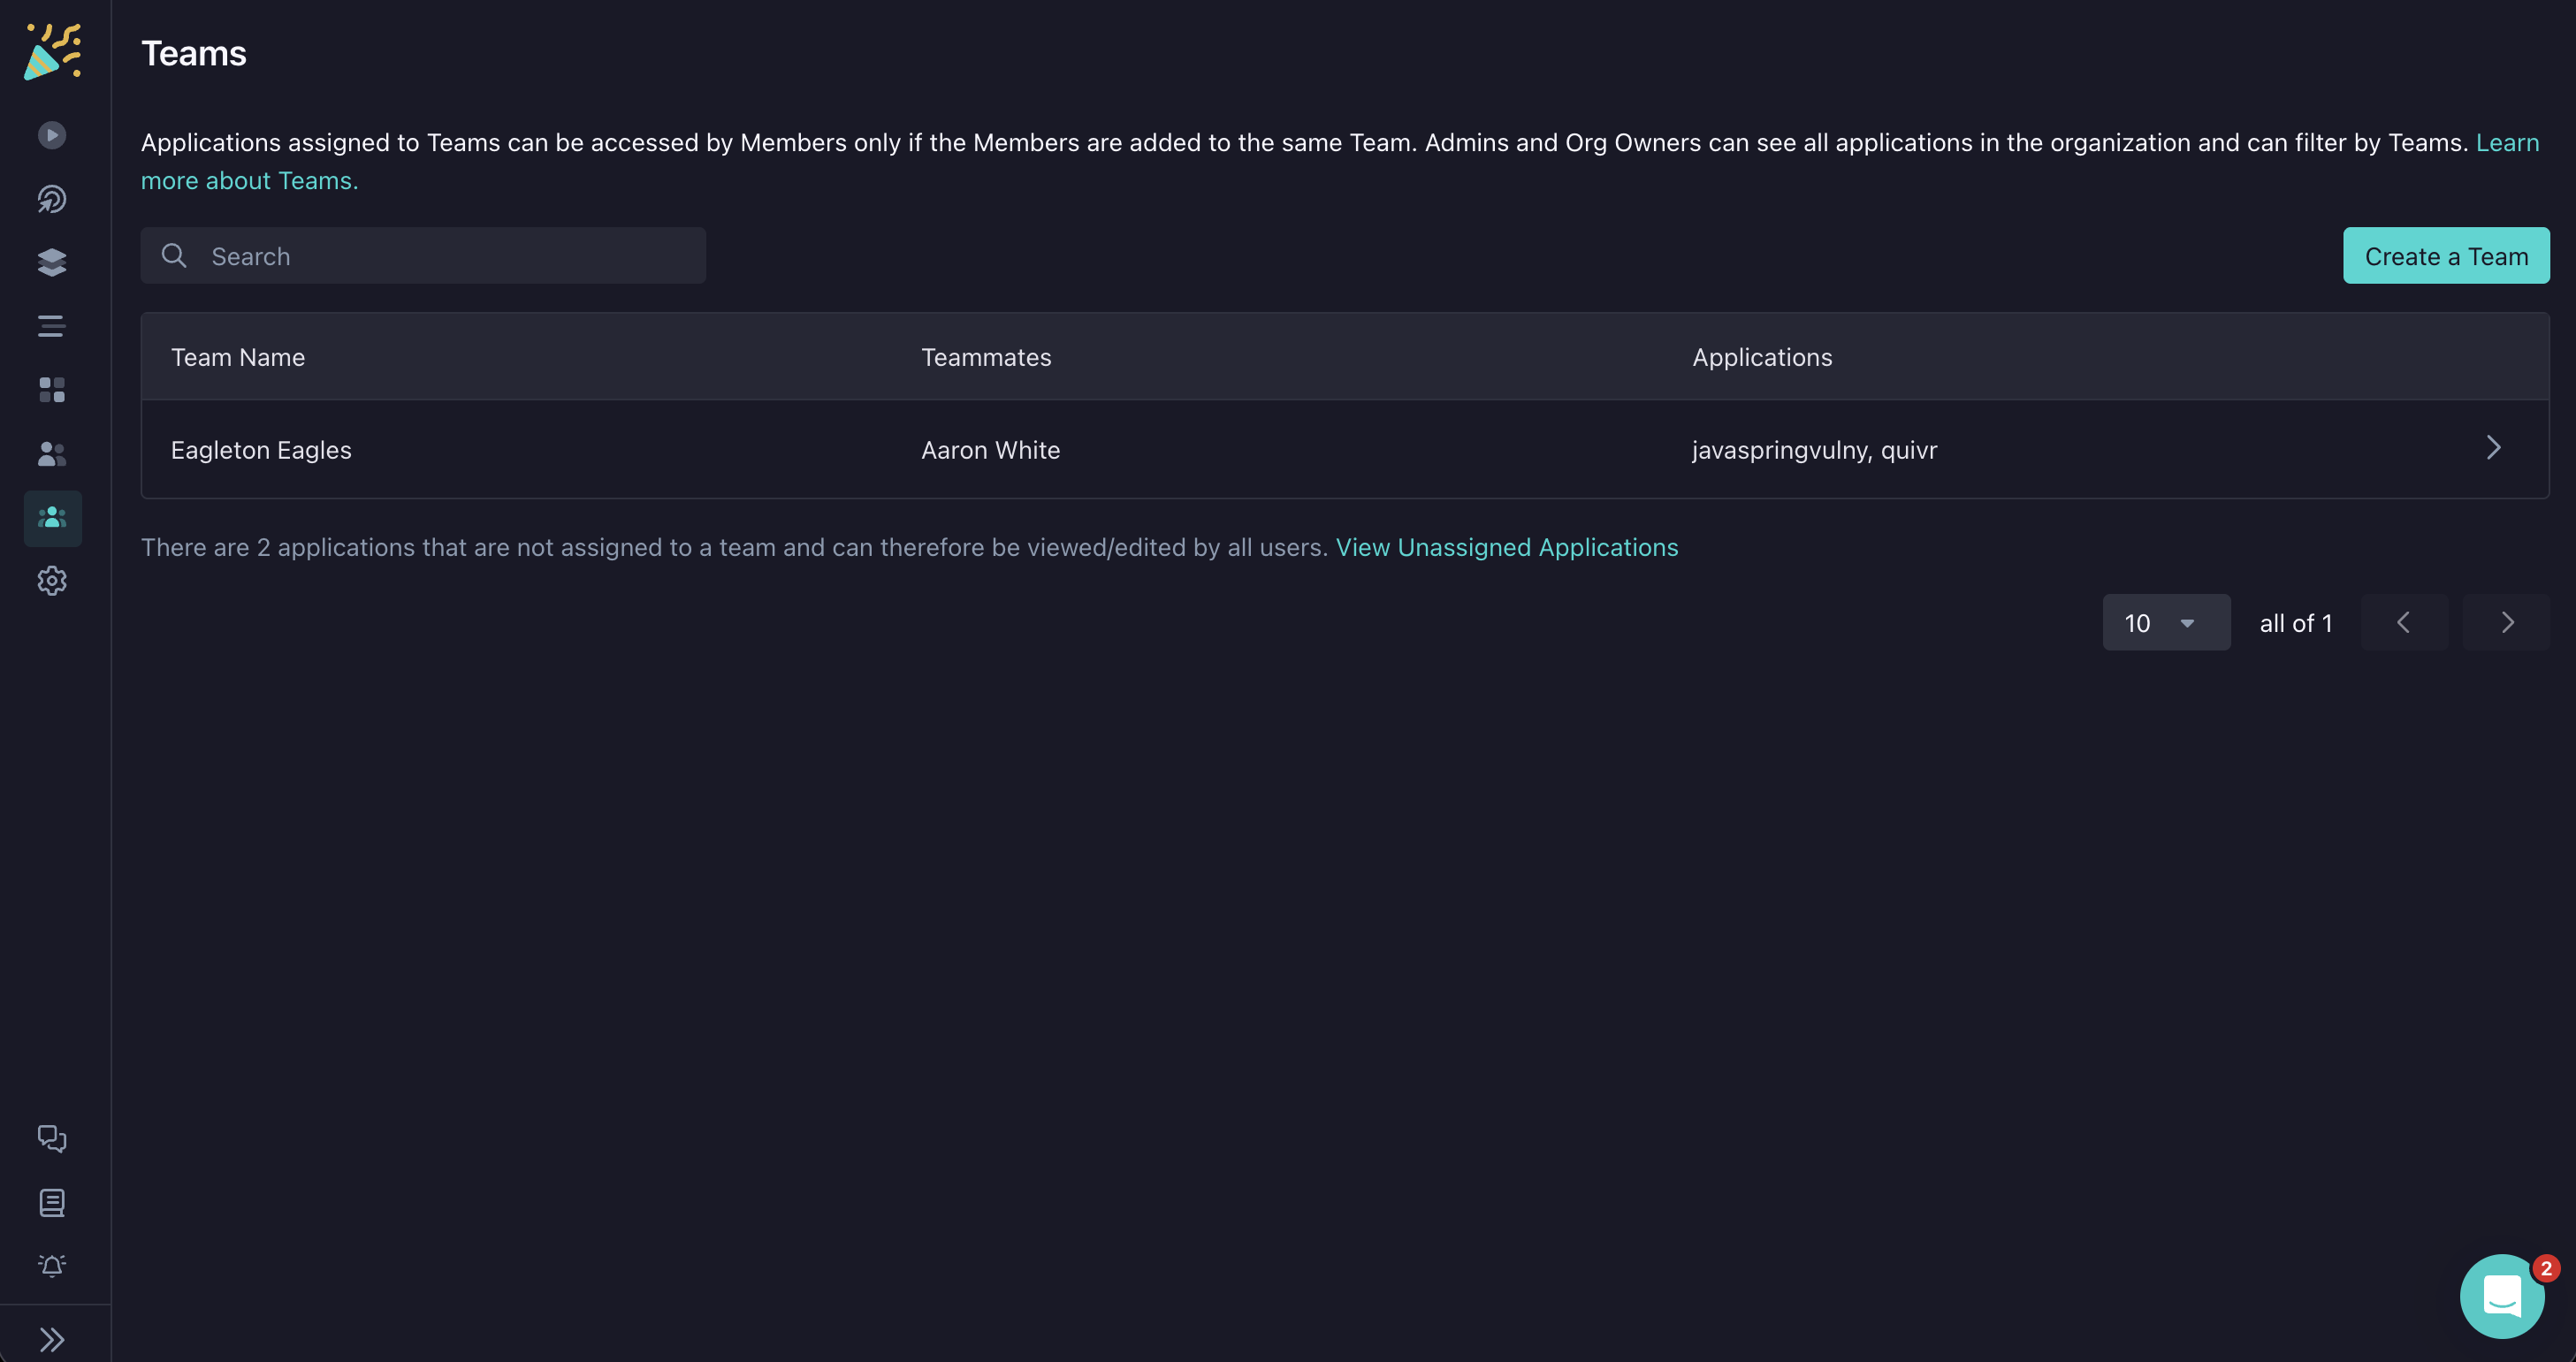
Navigate to Teams in the main navigation and click Create a Team.
In the “Create a Team” modal, fill out the Team Name and add Users and Applications that you want to group.
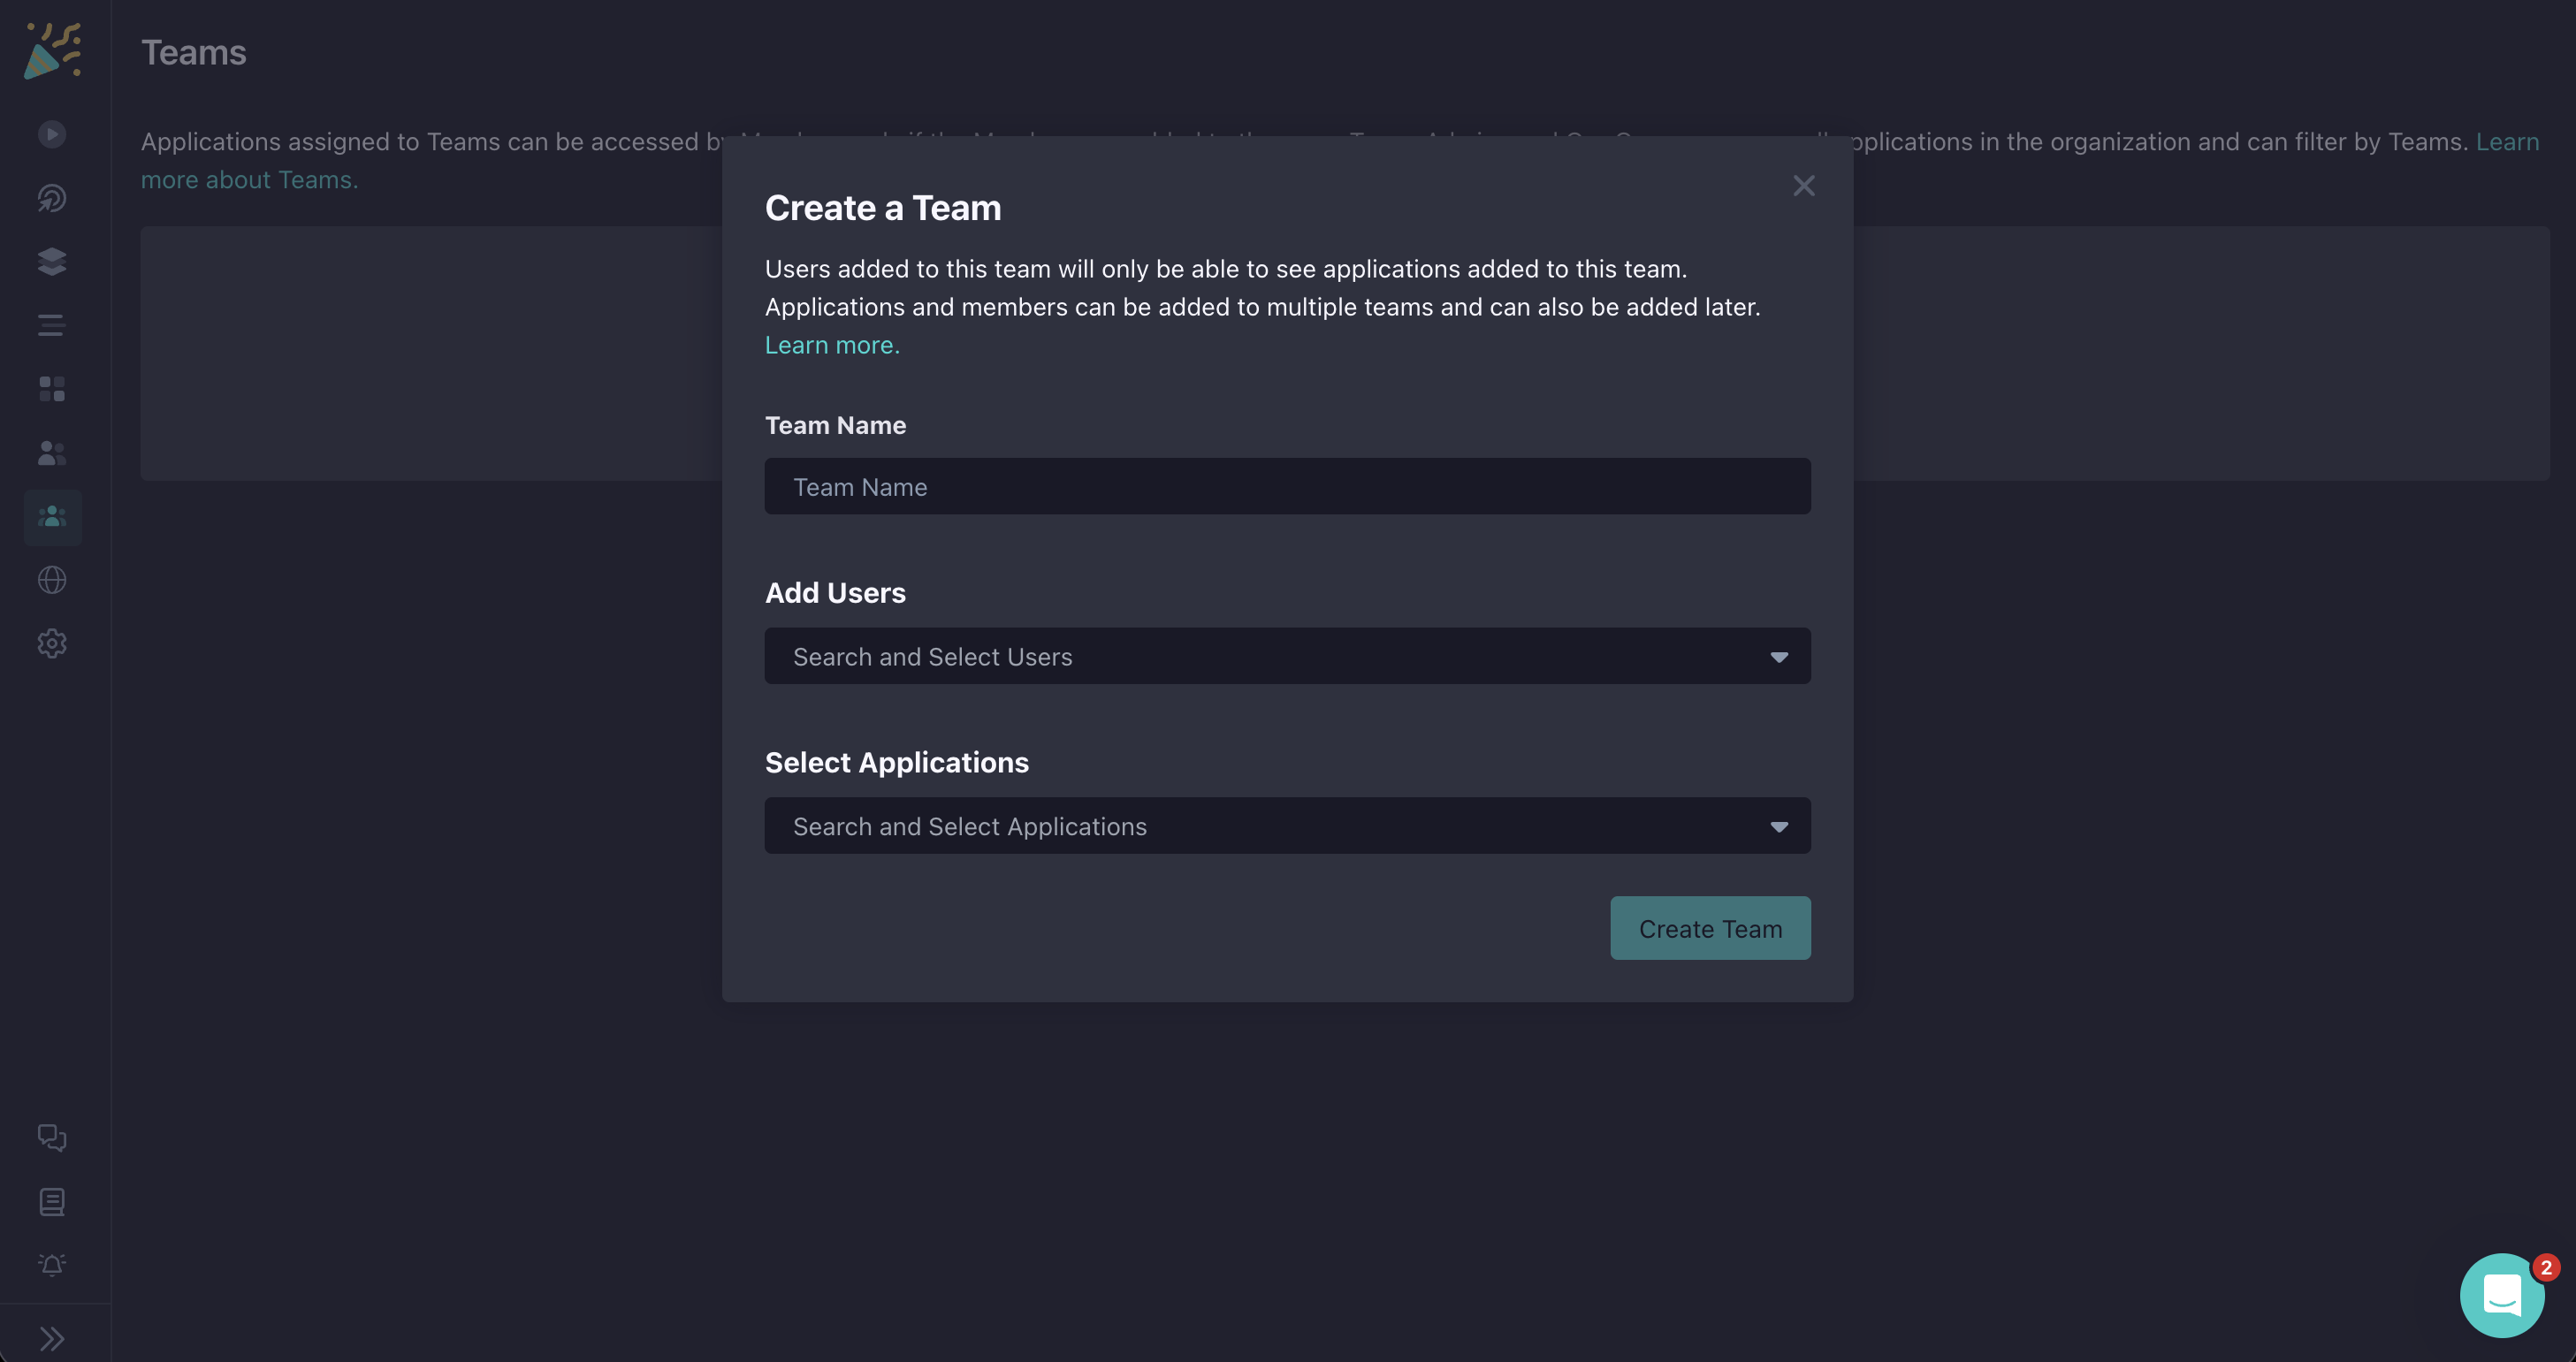
When finished, click Create Team.
Updating a Team
Navigate to Teams and click on the Team you want to change.
In the Team Edit page, modify the Name, Users, and Applications as needed.
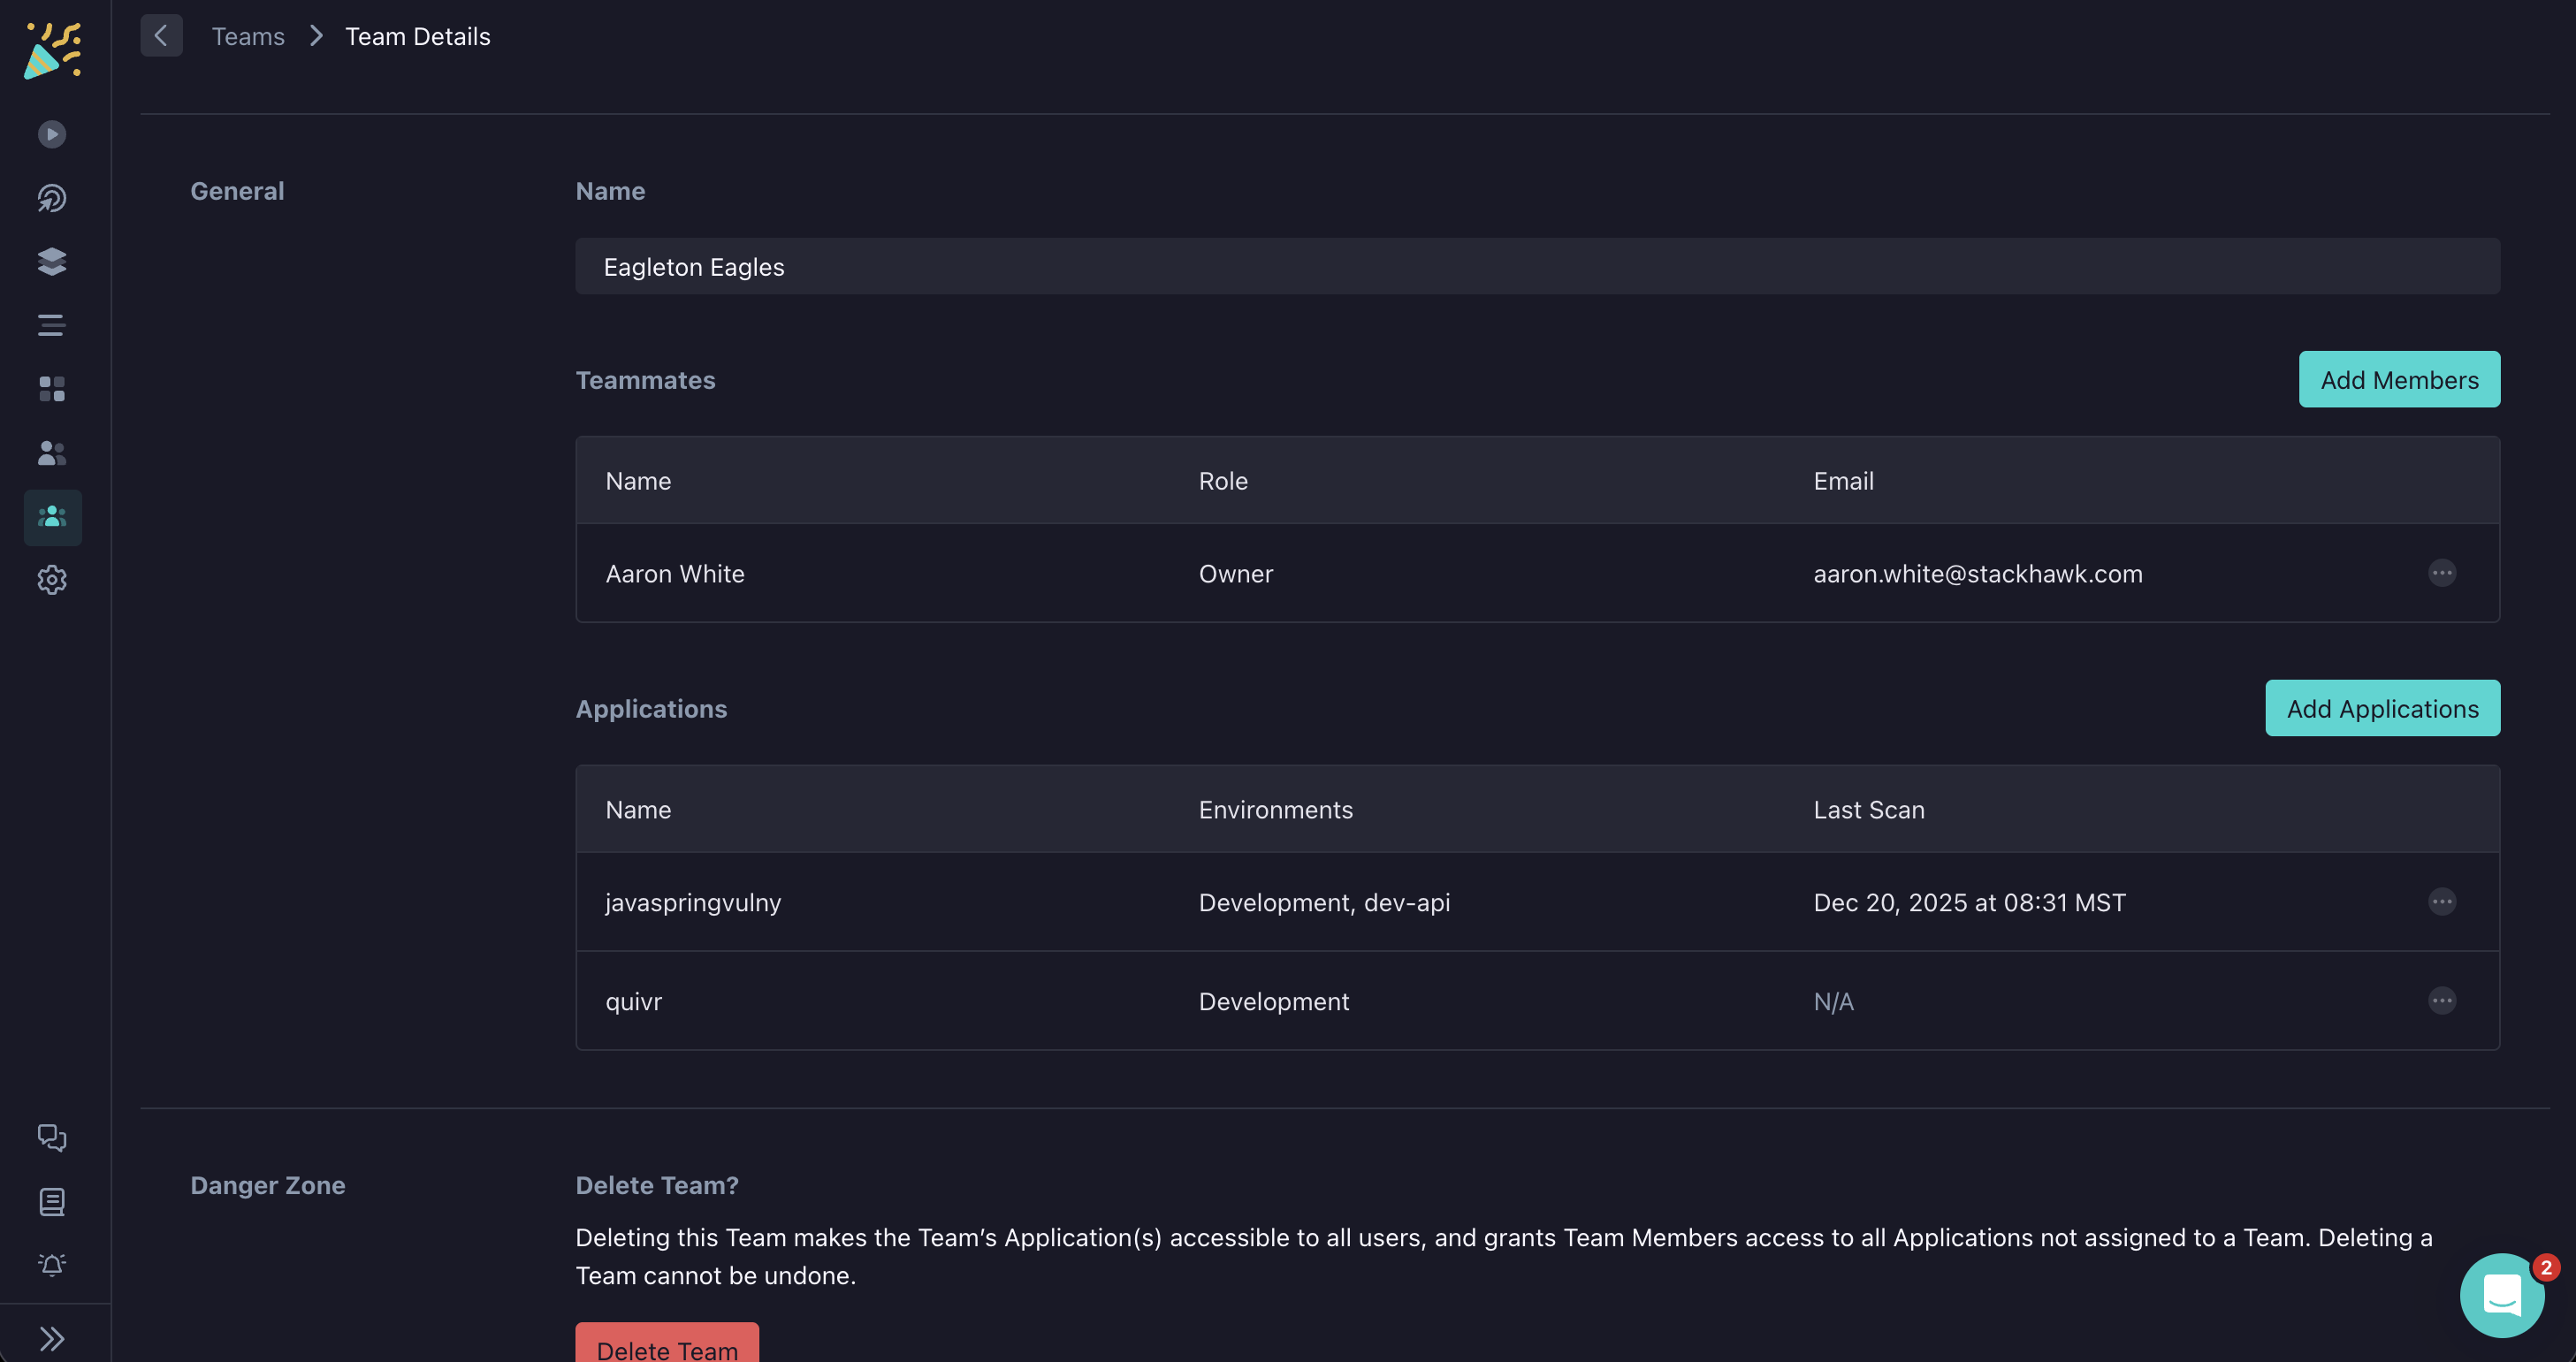
Changes are saved automatically.
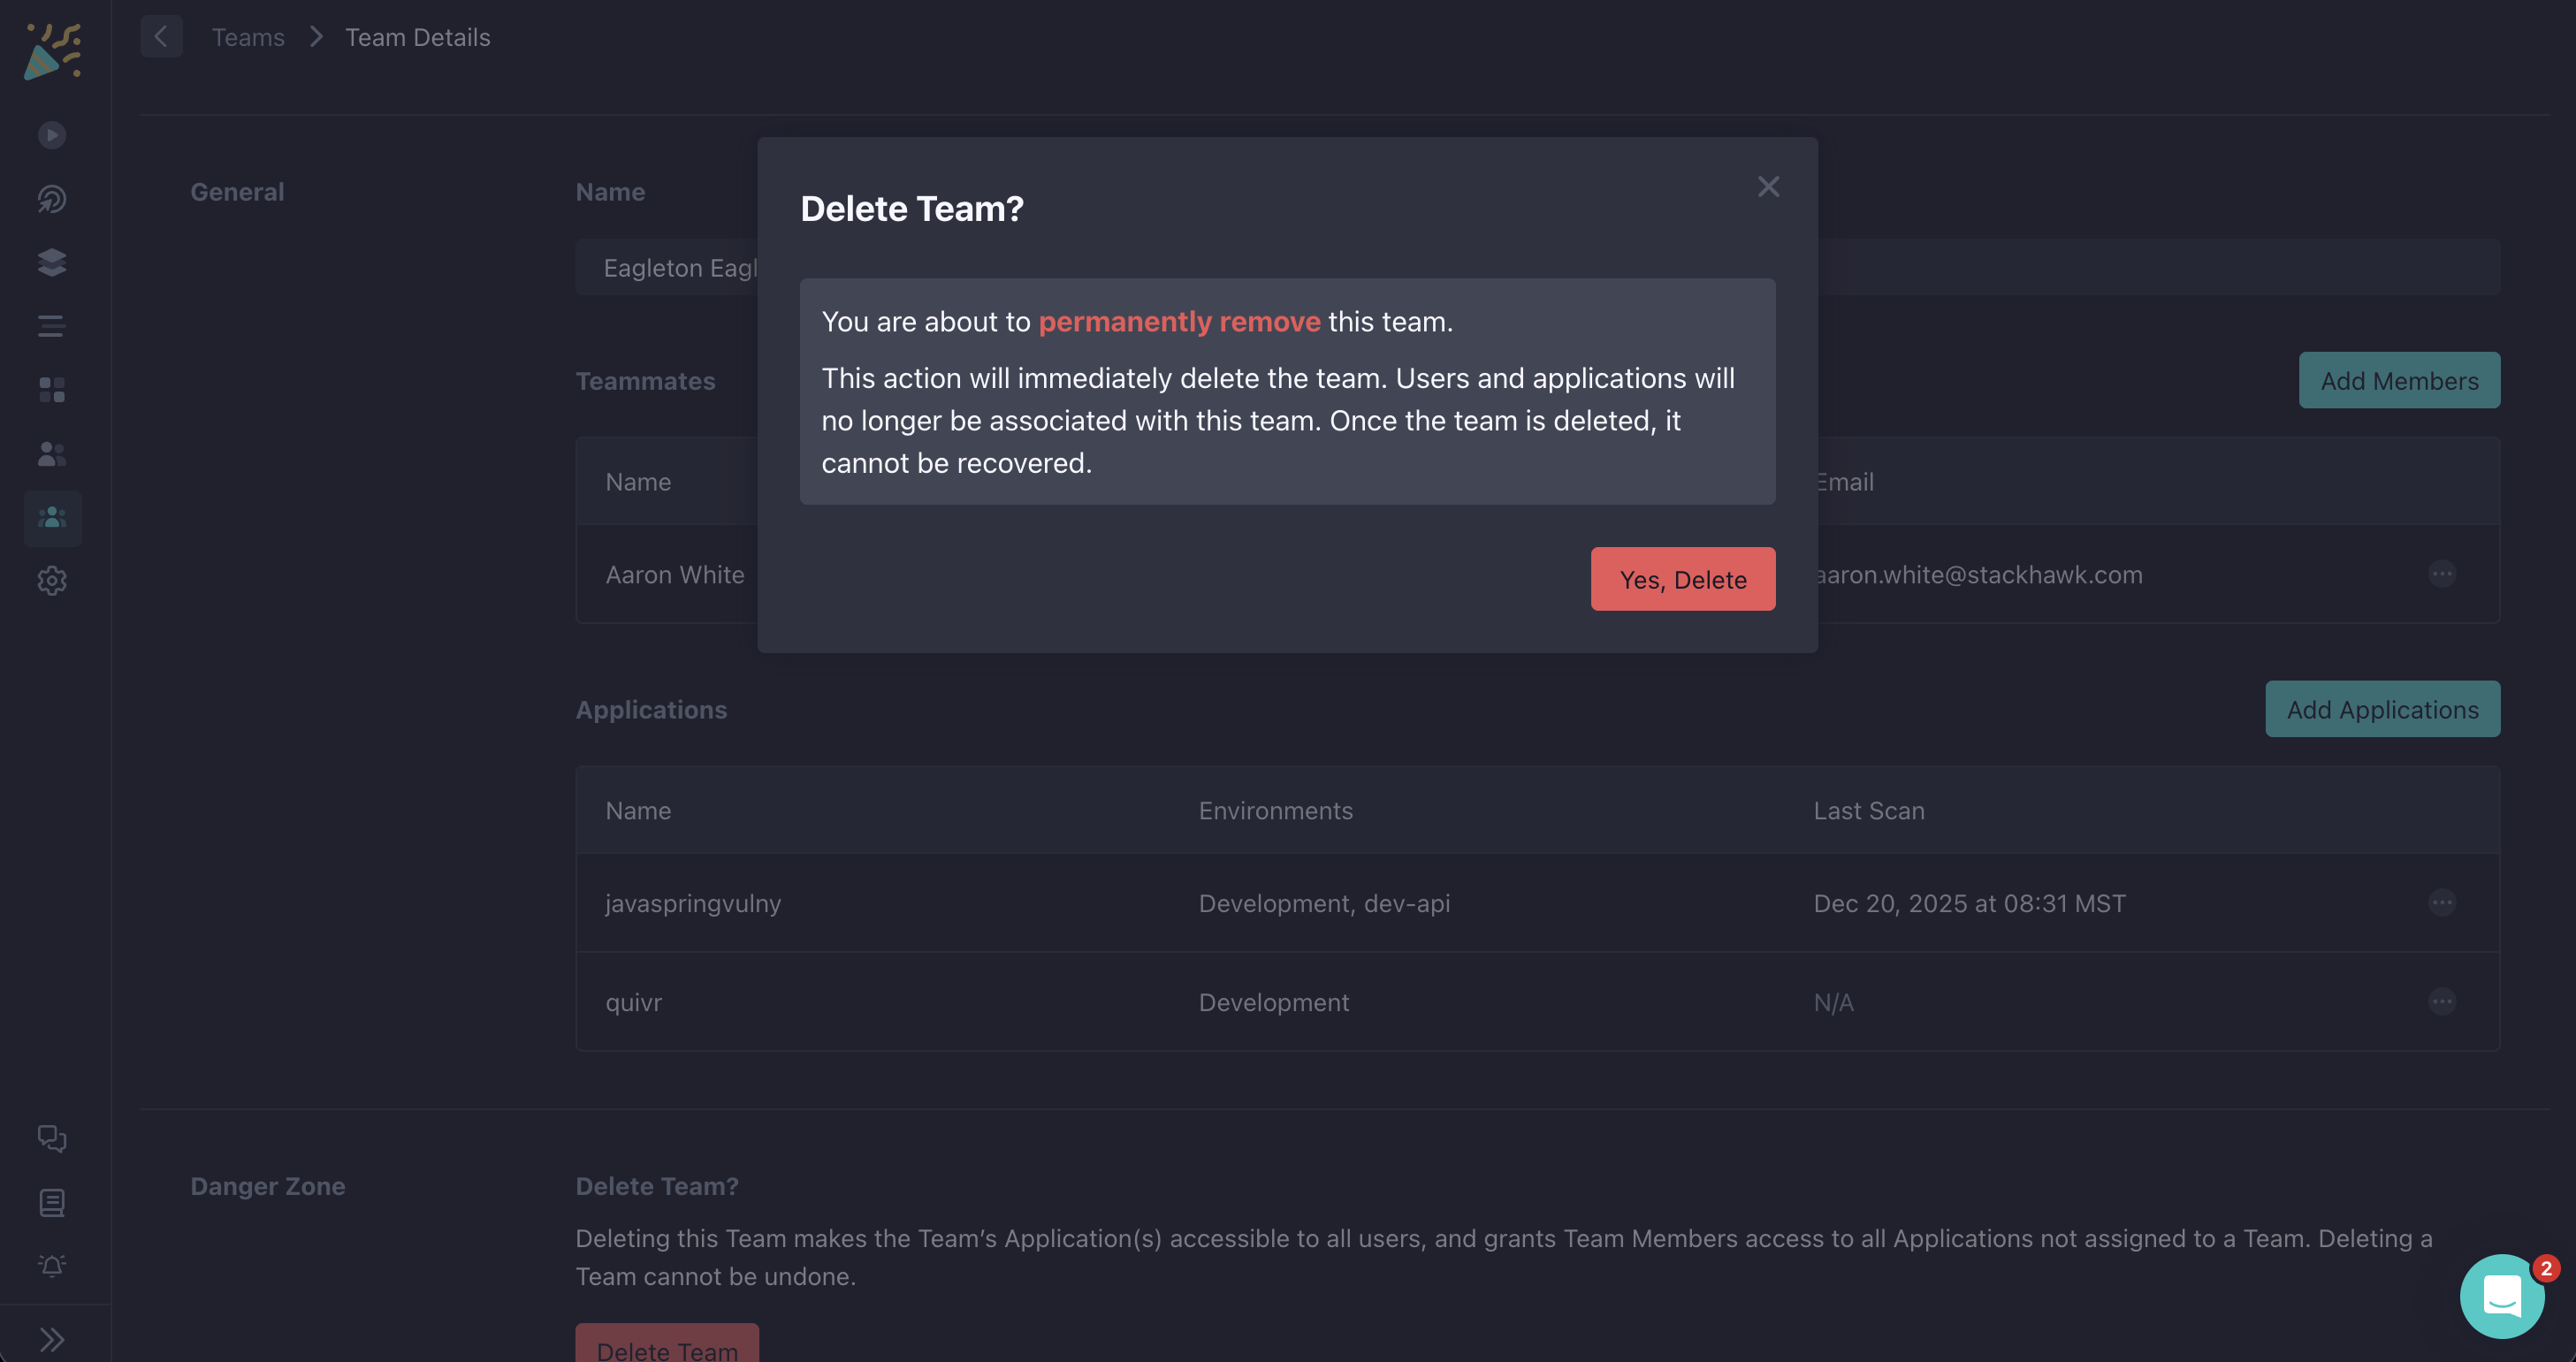
Deleting a Team
Navigate to Teams and click on the Team you want to delete.
At the bottom of the page, click Delete Team.